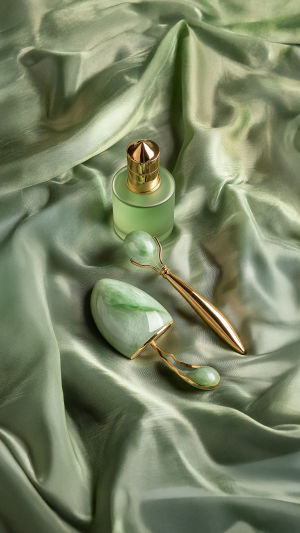
Gua sha is a simple yet powerful self-care ritual that promotes a healthy, radiant complexion.
Here's how to perform a gua sha facial effectively!
<h3>1. Lift the Eye Area</h3>
Gently sweep the tool outward from under the eyes to the temples. This helps reduce puffiness and gives a refreshed, lifted appearance.
<h3>2. Sculpt the Jawline</h3>
Move the gua sha from the chin up toward the ears using light, upward strokes to define and tighten the jaw area.
<h3>3. Ease Smile Lines</h3>
Glide the tool from the corners of the mouth up toward the cheekbones to soften laugh lines and smooth the skin.
<h3>4. Shape the Cheek Contour</h3>
Starting at the center of your face, work the gua sha outward across your cheeks to accentuate your natural contours and promote firmness.
<h3>5. Smooth Forehead Lines</h3>
Press lightly as you move the tool upward from your eyebrows toward your hairline to soften fine lines and relax the muscles.
<h3>6. Reduce Eye Puffiness</h3>
With gentle pressure, slide the tool beneath the eyes to support lymphatic drainage and lessen dark circles and puffiness.
<h3>7. Soften Fine Lines</h3>
Focus on areas prone to fine lines by gently massaging with consistent strokes to improve skin texture and elasticity.
<h3>8. Enhance Neck Appearance</h3>
Begin at the collarbone and glide the tool upward toward the jaw. This encourages lifting and helps improve the tone of the neck.
Incorporate gua sha into your weekly routine for glowing, toned skin. It's a relaxing practice that brings visible results over time—naturally and effortlessly!


